
Cabin filter replacement
To perform the replacement you need a T25 torx tool and a phillips screwdriver.
- The car’s cabin filter is located inside the HVAC unit under the dashboard. You can access the cabin filter from the front passenger side.
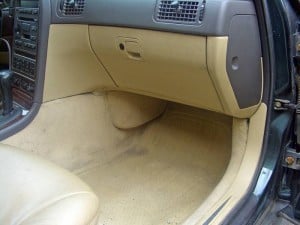
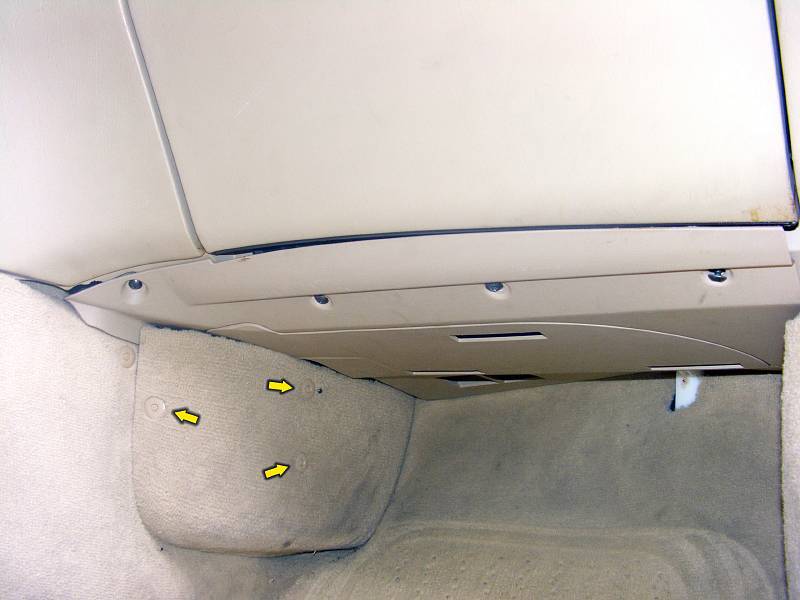
- Start by removing the small carpet under the glovebox. It is held in place with three plastic rivets. Push the part in the middle so that it unlocks and lets you pull out the rivet.

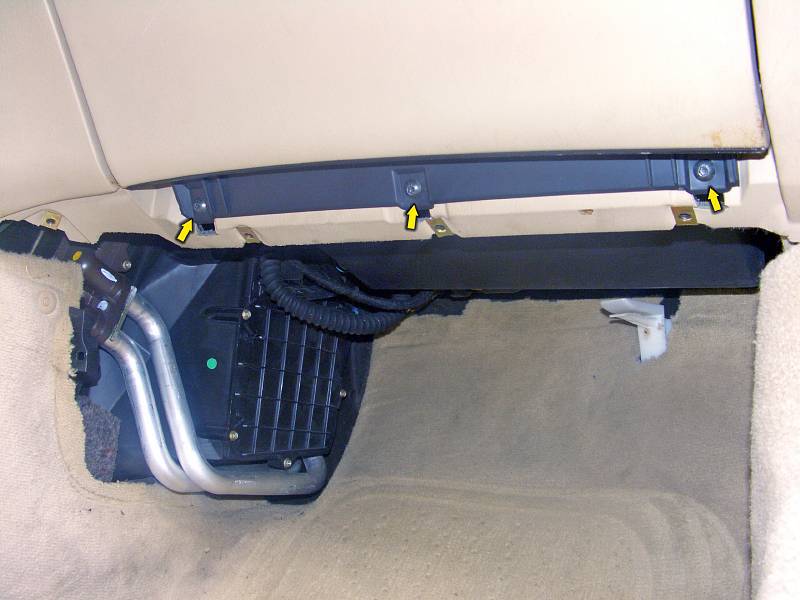
- Remove the Torx screws on the front under the glove box and remove the plastic cover.

- Remove the three Torx screws that hold the bottom of the glove box.

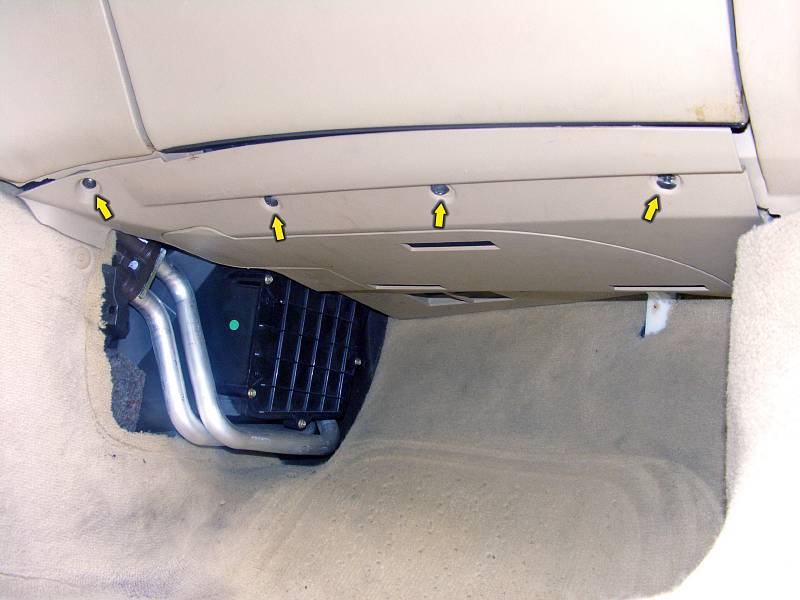
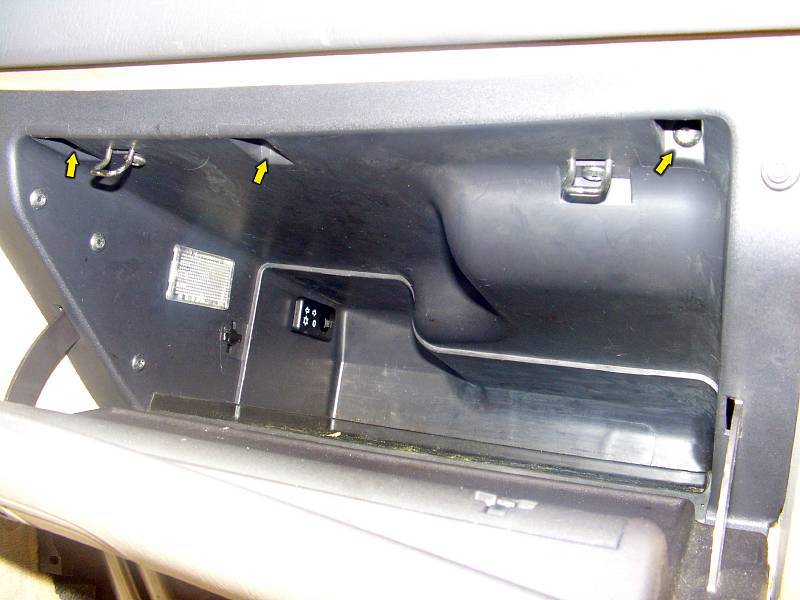
- Open the glove compartment and remove the three torx screws that hold the upper portion of the glove compartment.

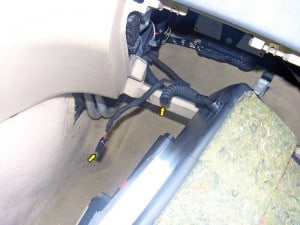
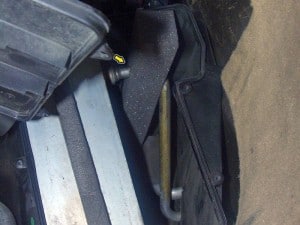
- Pull the glove compartment gently outwards and remove the elctrical plug and the coolant hose.
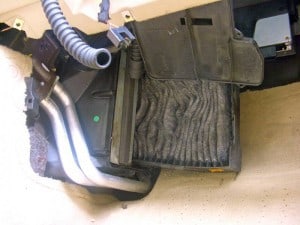
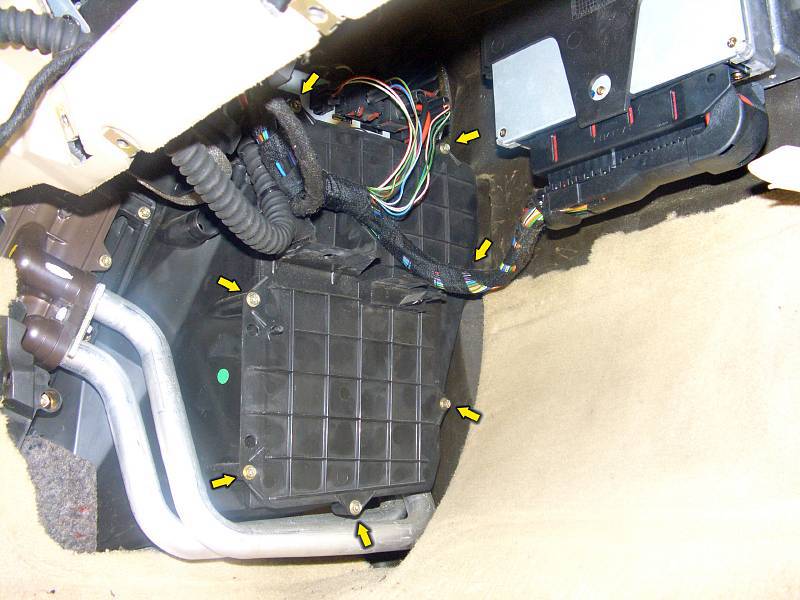
- Remove the seven screws on the filter cover using a phillips screwdriver. A 7 mm socket will also work.

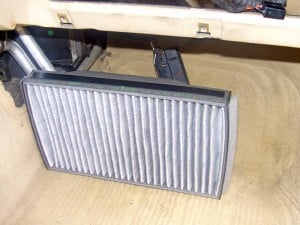
- Remove the old filter and clean the filter container.
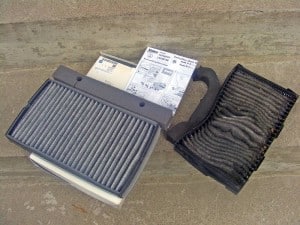
- This picture shows how important it is that you change your cabin filter often. Remember that this is the air you’re breathing while in your vehicle.
- Install the filter horizontally with the upper portion towards the front of the car. Note the adhesive strip on the upper part of the filter (not all filter have this strip).
- Install the foam seal first and make sure that the recess on it is wrapped around the pipes along the top of the filter canister.
- Pull off the protective film from the adhesive strip on top of the filter (it sticks to the foam seal) and slide the filter in. Reassemble everything in reversed order.


This guide is borrowed from platonoff.com